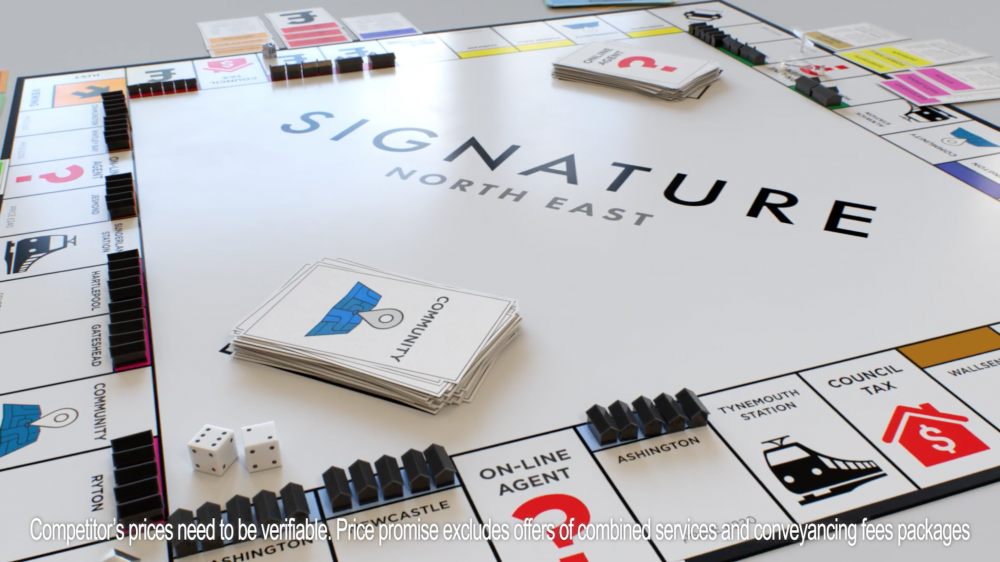
3D (CGI) animation is highly versatile, and is often the best creative style to use either for reasons of practicality, or to create a wow factor. Our 3D animation process has been developed and refined over years, and is applicable at least in part whether we’re producing a TV advert, online promotional video, character animation, or product visualisation.
We begin with the pre-production phase. Working from our initial concept, we write the full script, for your comments & approval.
Once we have agreed the script, we collect reference images, sketch characters, and possibly even motion capture data. Working from the script & visual references we create a full storyboard. This is comprised of static images (sketches, typically) but we will usually take it a step further and create a pre-visualisation (pre-viz). A pre-viz uses very basic 3D shapes/models to create a very rough layout of each scene. It allows us to pick camera angles, positions and movements before we ever begin animating, which saves time and also gives you a great idea of how the animation will flow.
By the end of pre-production, we will have prepared ourselves for the production phase, provided you with a rough representation of the final product, and highlighted any technical challenges which the project will present us. We’re now ready for production!
The first stage of production is R&D (research and development). This is where we look into the best available software, hardware and techniques which will go on to define the how we approach the production phase, and what the final animation will look like.
The next stage of production is modelling. Whatever we need for each scene needs to be created by us – characters, buildings, roads, pathways, vehicles, greenery, tools… whatever the script calls for.
Once everything is modelled, we ‘UV unwrap’ them, and apply textures & materials. We texture the various models with a combination of sourced and bespoke images. Those images are then connected to materials which define how the object will react to light So, for example if we have modelled a stainless steel kettle which will be placed in a kitchen scene we’d define a high ‘metallic value,’ or a high ‘specular value’ which could loosely be described as how much light is reflected off the surface of the object. The aim is to allow computer-generated light to interact with a computer-generated object’s surface so that it looks real.
Any models which require advanced movement – usually characters – are then rigged. This is basically equivalent to creating a skeleton which we can use to create natural-looking movements. If the character will speak, we’ll also rig the head and lips, ready for lip-sync.
We then move into the animation stage of production, where the rigged assets are then manipulated to achieve the desired performance. Once each scene is animated, we run any necessary simulations – this is to ensure that elements such as water move in a natural manner. Character clothing is also simulated here, to ensure realistic movements of the specific fabric we’re animating.
We then move on to the lighting stage of production. This is where it all starts to come together. We use various lighting conditions to not only make a great looking render but to represent the mood of a scene or shot. The final stage of production is rendering – exporting the final images. Compositing the animation involves adding 2D visual effects elements or motion graphics, along with colour correction to create the the finished product.
We typically go through a few rounds of comments & amendments, usually resulting in lots of small adjustments. Once we’re all happy with the final results, we produce the final cut and deliver the project.
